Getting Started
Before you place a single guest, you need some key information. A successful seating chart starts with good preparation.
Step 1: Gather Your Guest List
Finalize your RSVPs before starting. You'll need:
- Total guest count
- Names of all attendees
- Dietary restrictions
- Plus-ones and children
- Special accessibility needs
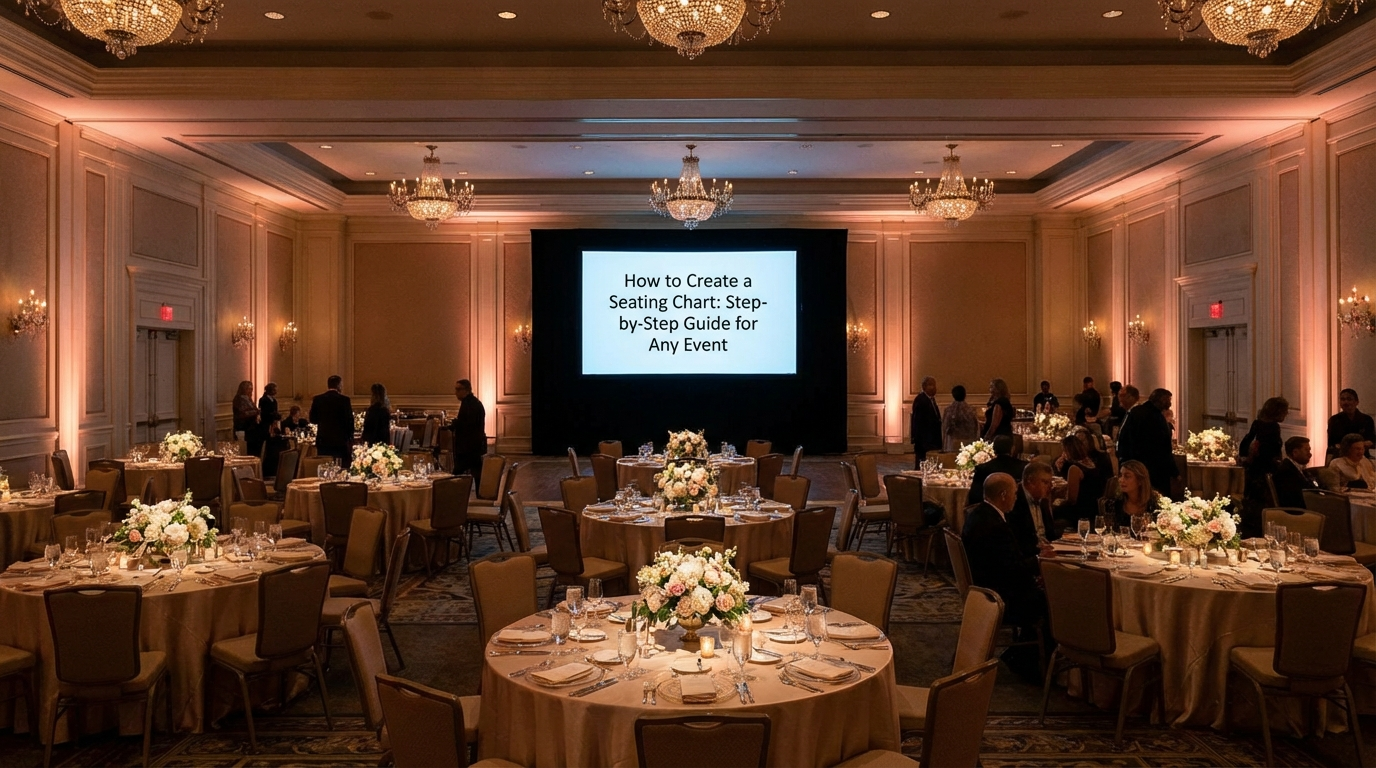
Step 2: Know Your Venue
Get the floor plan from your venue. Note:
- Available table configurations
- Location of exits, restrooms, and kitchen
- Where the head table/stage will be
- Dance floor location
- Power outlet placements (for AV needs)
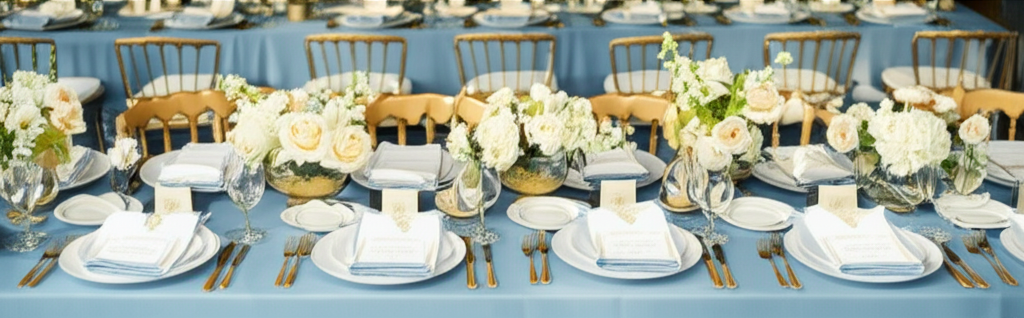
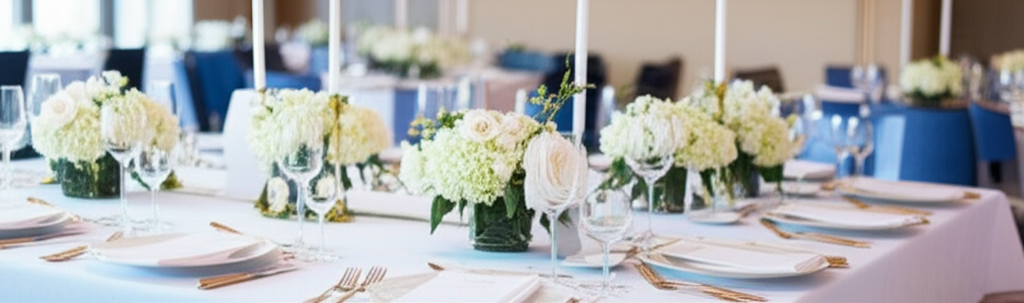
Step 3: Choose Your Table Layout
Common options include:
- Round tables: 8-10 guests, great for conversation
- Long tables: Family-style, more intimate
- Mixed: Head table + rounds for flexibility
Step 4: Start With VIPs
Place your most important guests first:
- Wedding party and family
- Executives or honored guests
- Anyone with special needs
Step 5: Group Strategically
Create natural conversation groups:
- Keep friend groups together
- Consider ages and interests
- Mix singles at "fun" tables
- Separate potential conflicts
Step 6: Review and Adjust
Walk through your chart asking:
- Can everyone see the stage/dance floor?
- Are there clear paths for staff?
- Is anyone isolated?
- Are there any awkward pairings?
Step 7: Share and Finalize
Share your chart with your venue, caterers, and day-of coordinator. Make final adjustments based on feedback.
Pro Tips
- Use digital tools for easy drag-and-drop editing
- Export as PDF for printing escort cards
- Keep a backup copy for last-minute changes
Get Event Planning Tips
Weekly tips on seating arrangements, event layouts, and planning strategies.
SeatingChart Team
Our team of event planning experts is dedicated to helping you create unforgettable events with perfect seating arrangements.
Ready to Create Your Seating Chart?
Start planning your perfect event layout with our free drag-and-drop seating chart creator. No sign-up required to try it out!
Try Free Seating Chart Creator